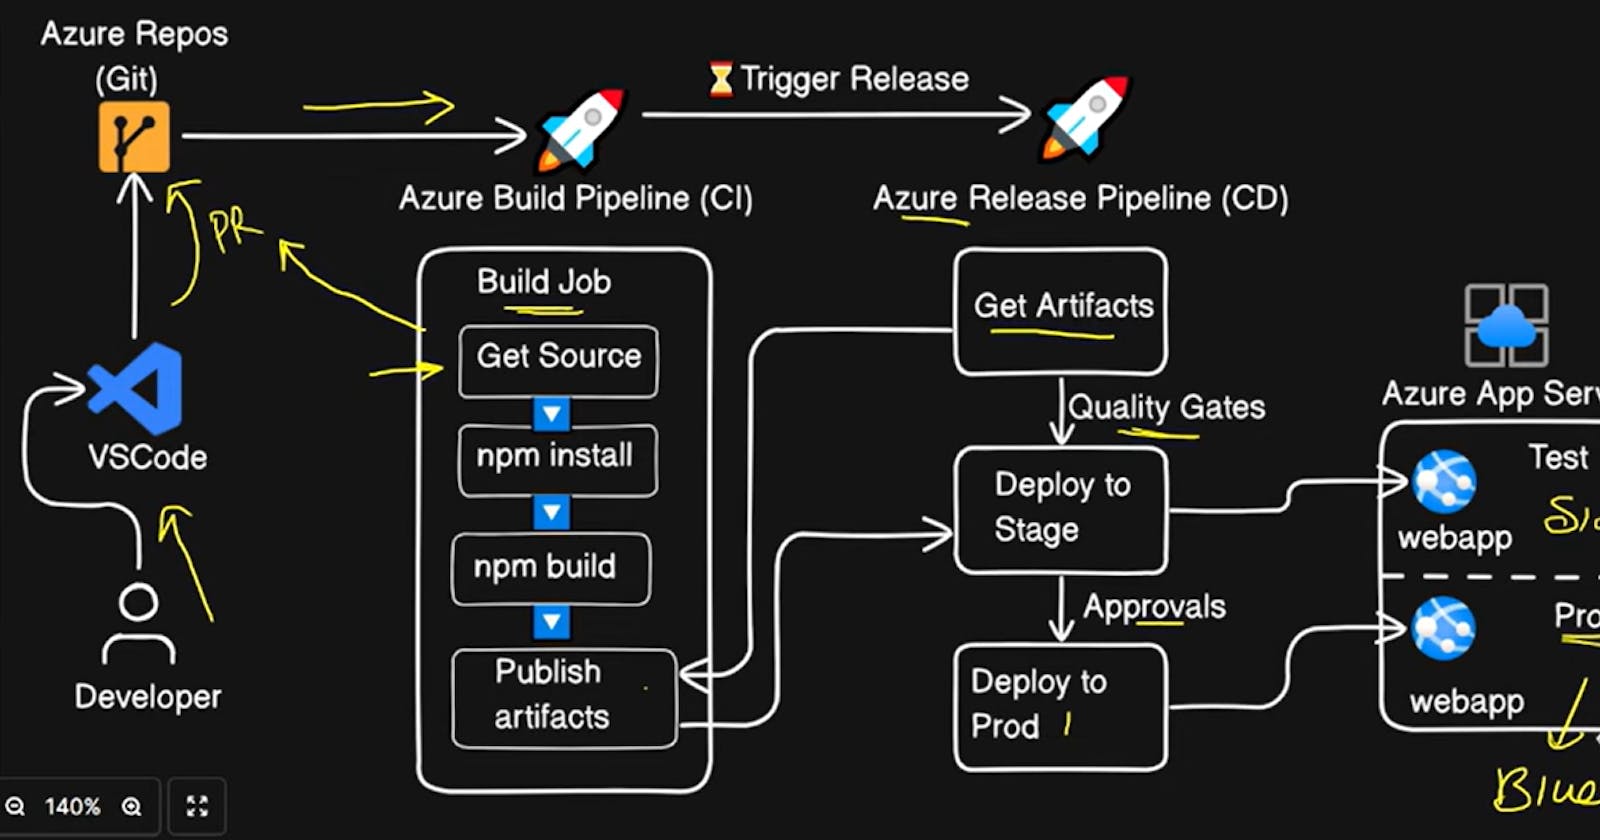
Azure Devops Self-Hosted agent | CICD | How to Create CICd Pipeline| On Self Hosted Agent
Azure Pipeline is a cloud service that we can use to build and test our code project automatically. The Azure pipeline has a lot of capabilities such as continuous integration and continuous delivery to regularly and consistently test and builds our code and ship to any target.
Version control system: Azure Pipelines integrates with GitHub, GitHub Enterprise, Azure Repos Git & TFVC, Bitbucket Cloud, and Subversion.
Deployment target: We can use Azure Pipelines to deploy our code to multiple targets. Targets include - container registries, virtual machines, Azure services, or any on-premises or cloud target.
Setup a Self Hosted Agent :
Login to azure devops account https://dev.azure.com/
To Setup a self hosted agent Goto -->Azure Organization-->Go to Project -->Go to Project settings--> Go to Agent Pool:
In Agent pool list of available agent will be displayed.
To create a new agent click on Add Pool
A popup will be opened and select self hosted agent from Dropdown.
As per image
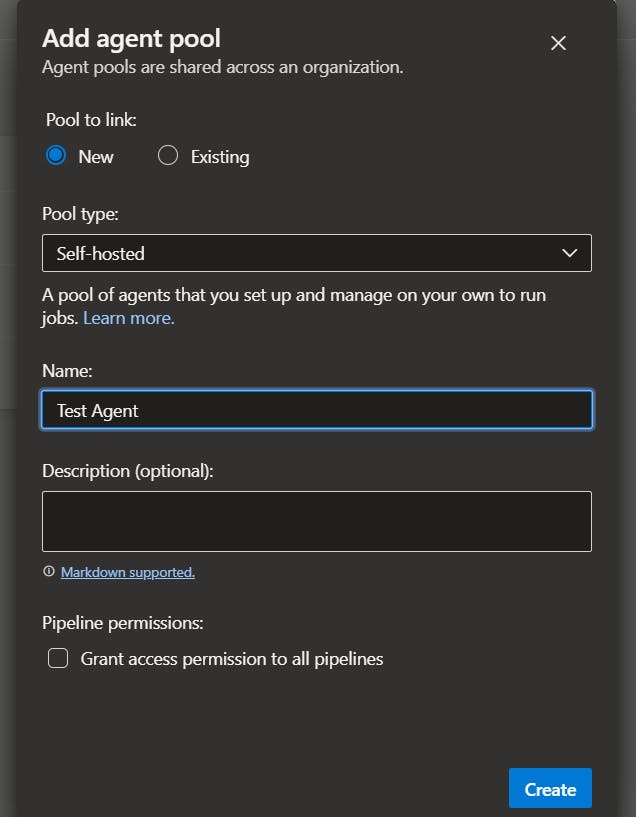
-->Go to Created Agent and click on New agent a popup will be shown to setup an agent on local machine.
Configure your account
Configure your account by following the steps outlined here.
Download the agent
Download
Create the agent
PS C:\> mkdir agent ; cd agent
PS C:\agent> Add-Type -AssemblyName System.IO.Compression.FileSystem ; [System.IO.Compression.ZipFile]::ExtractToDirectory("$HOME\Downloads\vsts-agent-win-x64-3.232.1.zip", "$PWD")
Configure the agent
PS C:\agent> .\config.cmd
Optionally run the agent interactively
If you didn't run as a service above:
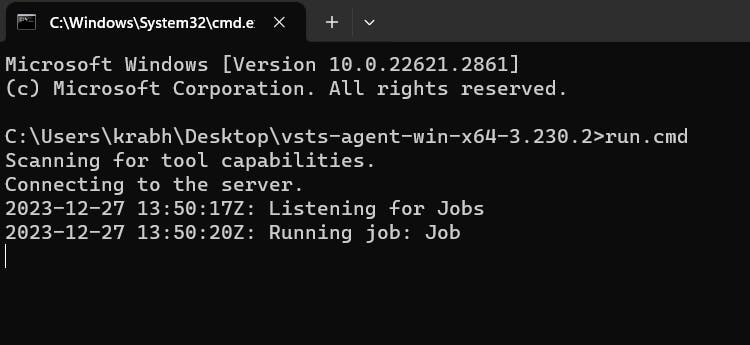
PS C:\agent> .\run.cmd
Self Hosted Agent is running and ready for taking jobs.

Now My agnet has taken a job and running.
Create New Pipeline :
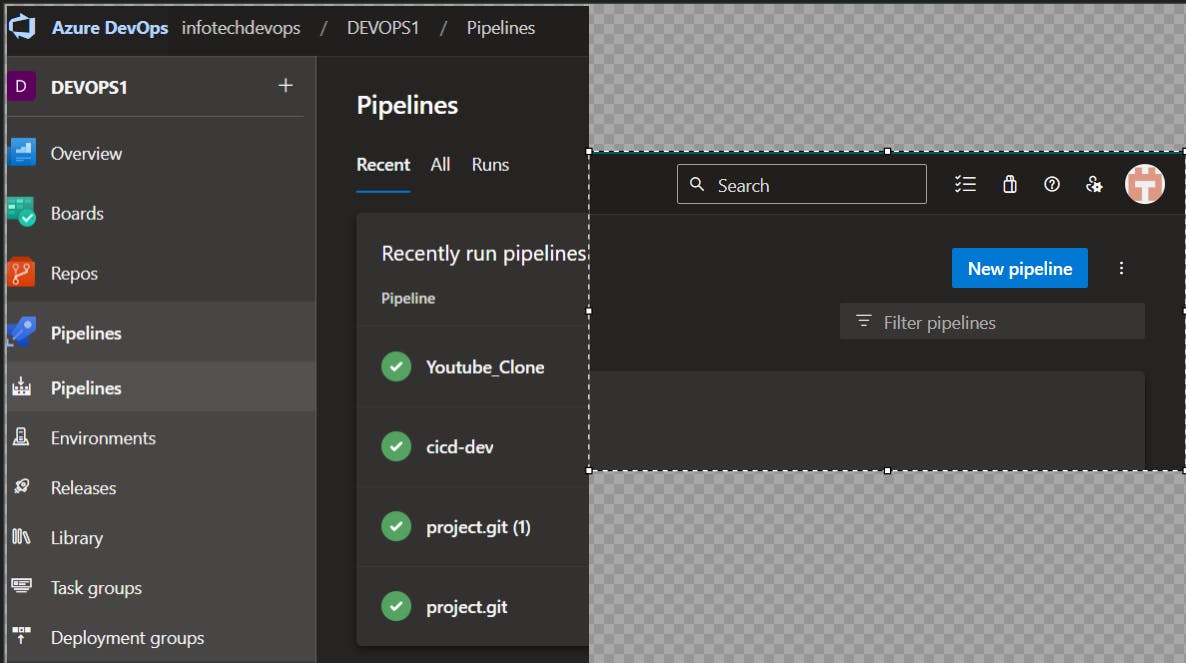
To Create New pipeline in Azure devops---
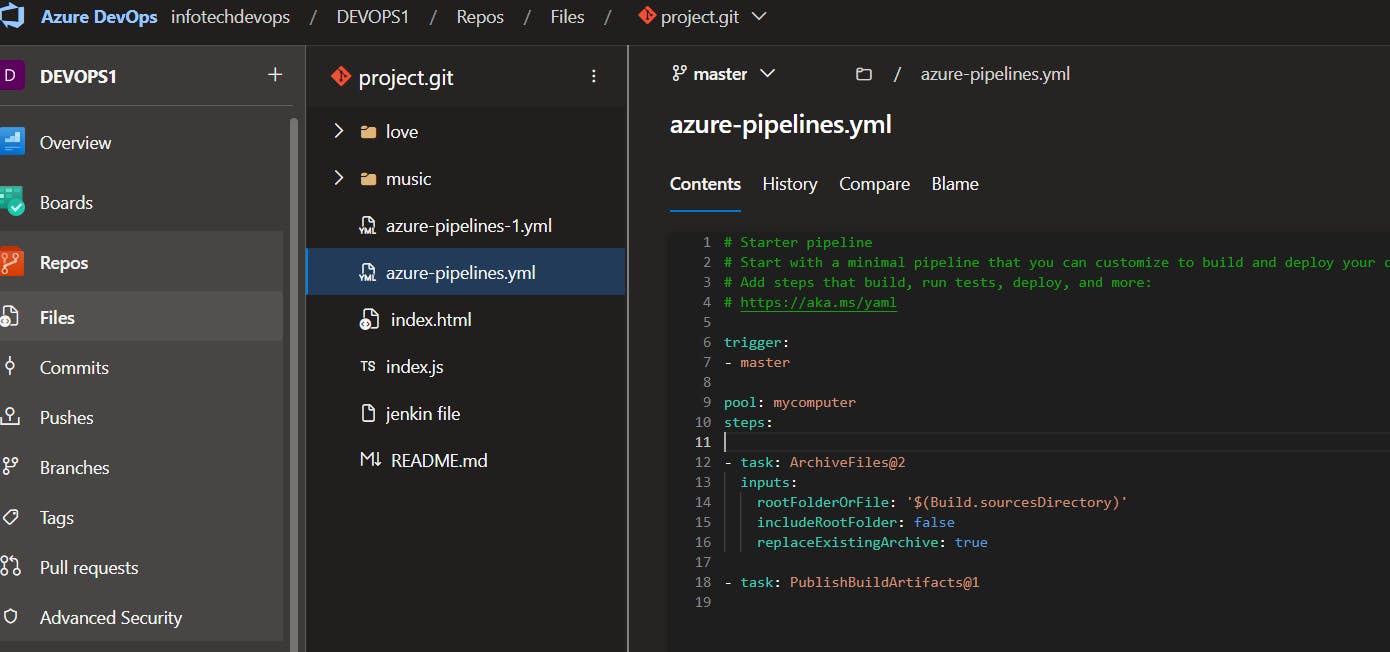
Login to Azure devops account-->Go to Organization-->Go to Projects-->Click on Pipeline--> Click on New Pipeline-->Select Repos-->Select Starter Pipeline.
A Pipeline will be created.
Now paste this sample .yaml code.
trigger:
- master

pool: mycomputer
steps:

- task: ArchiveFiles@2
  inputs:
    rootFolderOrFile: '$(Build.sourcesDirectory)'
    includeRootFolder: false
    replaceExistingArchive: true

- task: PublishBuildArtifacts@1
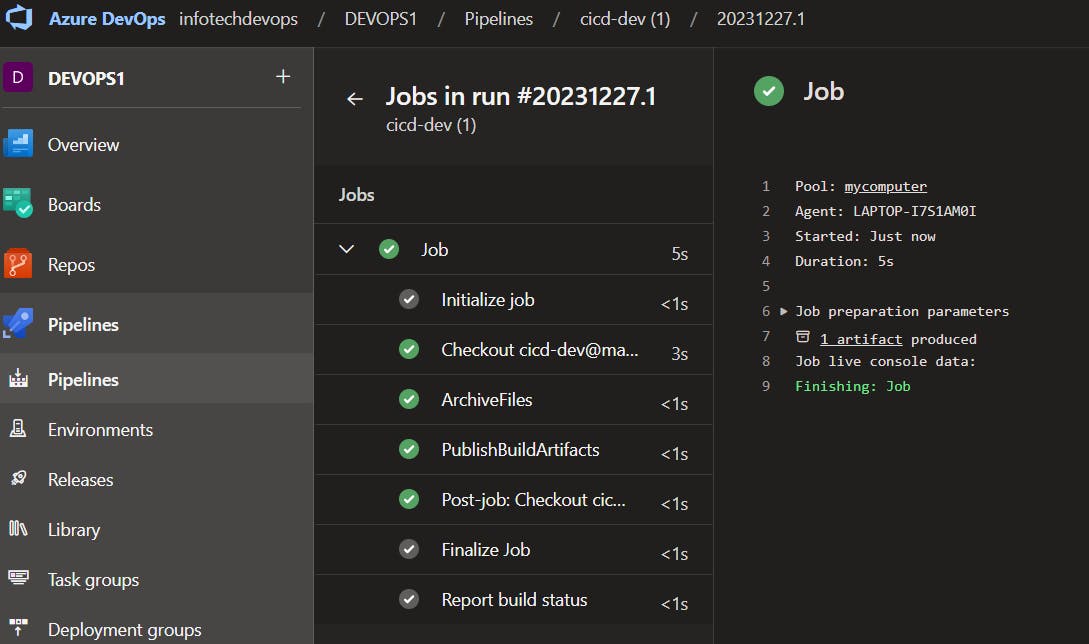
Now Click on Save and Run button Pipiline run will be started.
Our CI Pipeline has been run successfully and 1 artifact has been produced which will be used for code deployment in release pipeline.
Conclusion :
So in this blog we learn how to create Pipeline in azure devops gone through the setup of self hosted agent and created pipeline that will take code frok azure repos and at the successfully build of this pipiline artifact will be produces and further will be used in deployement of release pipeline.
